The dark web is a part of the internet that is not indexed by search engines and requires specific software to access. It is designed to provide anonymity and privacy to its users, allowing them to communicate and conduct business without revealing their identifying information.
Key Features of the Dark Web:
Not indexed by search engines
Requires specific software to access (e.g. Tor browser)
Provides anonymity and privacy to users
Often associated with illegal activities and selling stolen personal information
How to Access the Dark Web:
Install Tor Browser: Download and install the Tor browser from the official website.
Use Special Search Engines: The dark web uses special search engines designed to help you find hidden sites.
Navigate .onion Domains: Websites on the dark web end with the “.onion” domain extension.
Stay Safe: Be cautious when accessing the dark web as it can be a dangerous place. Use security measures like antivirus software and avoid downloading files from untrusted sources.
SD-WAN, or Software-Defined Wide Area Network, is a virtual WAN architecture that uses software-defined networking (SDN) principles to manage and optimize the performance of wide area networks. It allows organizations to securely connect users, applications, and data across multiple locations, providing improved performance, reliability, and scalability. SD-WAN simplifies network management by providing centralized control and visibility over the entire network, enabling businesses to use lower-cost Internet access to build higher-performance WANs, often replacing more expensive private WAN connection technologies like MPLS.
SD-WAN vs MPLS
The main difference between SD-WAN and MPLS is that SD-WAN is a virtualized network overlay that can combine multiple types of connections, whereas MPLS is a dedicated, hardware-based private network. SD-WAN creates encrypted tunnels over the internet, while MPLS doesn’t directly support encryption but is partitioned from the internet.
SD-WAN: A software-defined wide area network that uses virtualization and overlay tunnels to connect users to workloads across multiple transport services and types of existing infrastructure, offering improved bandwidth availability, WAN redundancy, and cost-effectiveness.
MPLS: A multiprotocol label switching protocol that improves performance and efficiency of data transmission in a wide area network, operating between Layer 2 and Layer 3 of the OSI model, but with higher per-megabit costs and limited flexibility.
SD-WAN is generally considered more cost-effective, flexible, and secure than MPLS, with the ability to cost-effectively mix and match network links according to content type or priority. However, MPLS is still in demand, particularly for organizations with specific connectivity and security requirements, due to its lower packet loss and dedicated leased lines. Ultimately, the choice between SD-WAN and MPLS depends on the organization’s specific needs and priorities.
SD-WAN implementation
Implementing SD-WAN involves several best practices to ensure a successful and efficient transition. Here are key steps and considerations:
Assess Your Network: Evaluate your current network infrastructure to identify strengths, weaknesses, and areas that require improvement. This includes understanding your network traffic patterns, application requirements, and performance goals. Assess compatibility issues with legacy systems and ensure your SD-WAN solution aligns with your business objectives.
Define Objectives and Strategy: Clearly define what you want to achieve with SD-WAN, such as cost savings, improved performance, or enhanced security. Align stakeholders and decision-makers on the strategic goals of the SD-WAN implementation.
Choose Deployment Model: Decide whether to deploy SD-WAN in-house, use a managed service provider (MSP), or a hybrid approach. Consider factors like in-house expertise, management and monitoring needs, and budget constraints.
Select the Right Vendor: Choose a vendor that offers robust SD-WAN solutions, including advanced security features, flexible deployment options, and strong customer support. Ensure the vendor can meet industry, country, or region-specific regulations.
Plan for Scalability and Flexibility: Design your SD-WAN solution to handle future growth and changing business demands. This includes considering the number of locations, size, and complexity of your network. Use modular methodologies and configuration templates to streamline deployment and management.
Implement Security Measures: Secure SD-WAN solutions should include advanced security features like Zero Trust Network Access (ZTNA), Intrusion Prevention System (IPS), and application-aware firewall capabilities. Ensure the SD-WAN solution can dynamically scale and adapt to different cloud environments.
Monitor and Troubleshoot: Implement robust monitoring tools to proactively identify and resolve performance issues. Regularly review performance metrics and network logs to ensure optimal performance and address any potential bottlenecks or security threats.
Ongoing Maintenance: After deployment, continue to maintain the SD-WAN network to ensure it operates efficiently. This includes regular updates, monitoring, and troubleshooting.
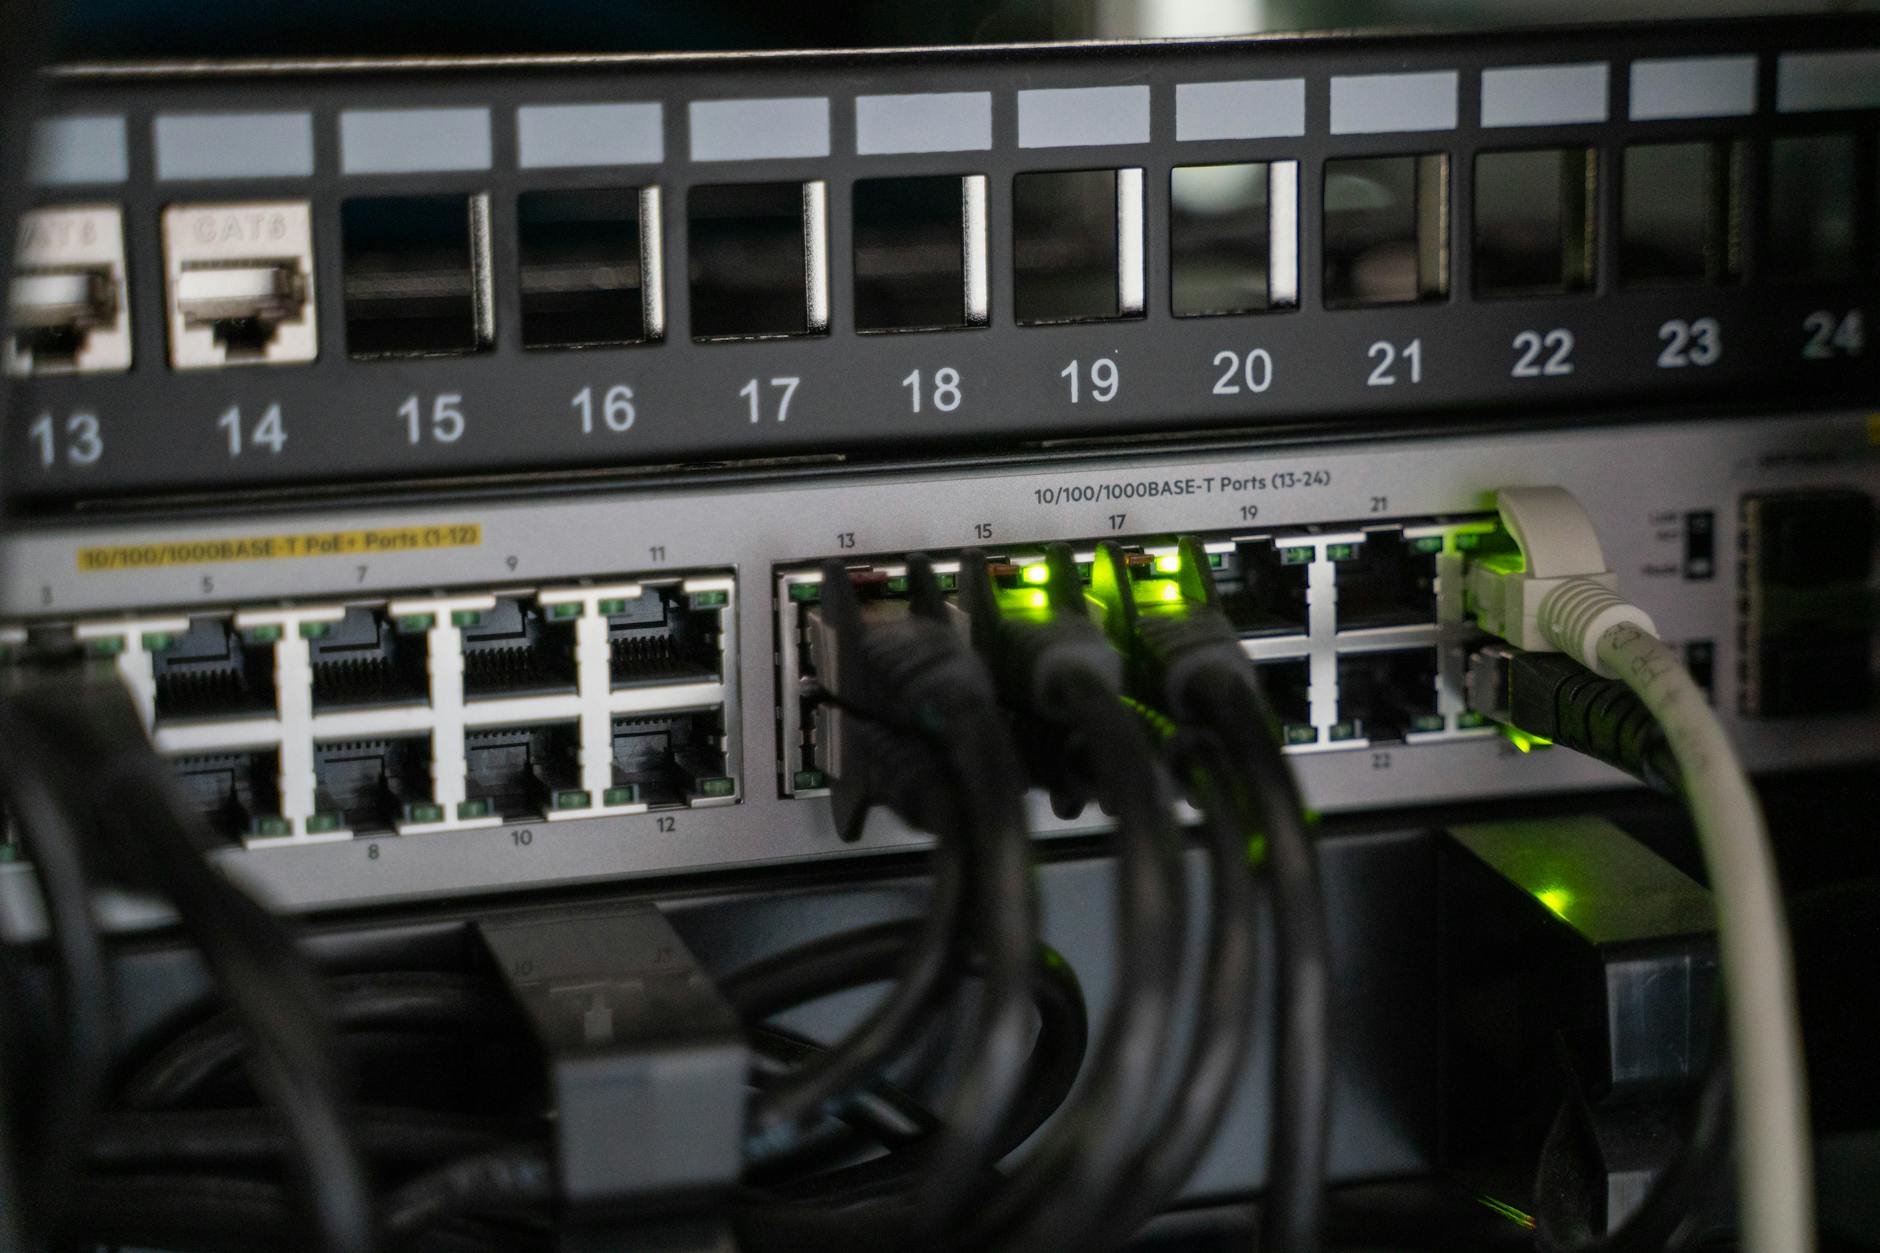
FortiGate SD-WAN Configuration Steps
To configure SD-WAN on a FortiGate device, follow these step-by-step instructions:
Enable SD-WAN Feature: Navigate to System > Feature visibility and ensure the SD-WAN option is selected.
Remove WAN Interfaces from Policies: Go to Policy & Objects > Firewall Policy and remove WAN interfaces from any existing policies to avoid losing internet connection.
Create SD-WAN Interface: Navigate to Network > SD-WAN and create a new SD-WAN interface. Click “Create New SD-WAN Member” on all ports used in SD-WAN.
Configure SD-WAN Members: For each WAN interface, assign the correct network gateway address. For example, set the wan1 interface Addressing mode to DHCP and Distance to 10, and set the wan2 interface IP/Netmask to 10.100.20.1 255.255.255.0.
Enable SD-WAN: In the SD-WAN Interface Members table, click “Create New,” select the interface, and set the appropriate gateway and cost. Set the status to Enable and click OK.
Configure SD-WAN Rules: Define SD-WAN rules to steer traffic based on business applications. These rules are matched in order, and the first match applies to the traffic.
Install Device Settings: Use FortiManager to install device settings, including creating interfaces, building VPN tunnels, and setting up BGP adjacencies. Preview the changes before installation to ensure accuracy.
Map Interfaces: Map your interfaces to Normalized Interfaces so that Policy Packages will install correctly.
Install Policy Packages: Go to Policy & Objects and click Install on the top blue bar. Preview the install before proceeding to ensure all settings are correct.
Assess Requests Realistically: Take the time to assess if a request is realistic and legitimate. Be cautious of requests that seem too good (or bad) to be true.
Stay Informed: Familiarize yourself with common types of social engineering attacks and how attackers behave. This will help you identify attempts that get past your initial defenses, such as spam filters.
Secure Devices: Ensure your Anti-Malware and Anti-Virus software is up-to-date to defend your computer against malware from phishing attacks. Patch your security regularly, including software and firmware updates.
Verify Email Requests: If an email request seems suspicious, verify it by contacting the company directly. Do not use contact information provided on a website connected to the request; instead, check previous statements for contact information.
Use Complex Passwords: Train employees to use complex passwords and avoid logging into third-party websites with corporate email addresses to avoid malicious or fraudulent websites.
Regular Staff Training: Provide regular staff training, including social engineering awareness training, to educate employees on social engineering attack techniques and ensure they follow security best practices.
Simulation: Conduct simulation exercises to test employees’ ability to recognize and respond to social engineering attempts. This can help identify areas for improvement and enhance overall security.
Email Gateways: Implement email gateways to flag socially engineered emails as spam in employees’ inboxes. This can prevent up to 99.9% of spam and reduce the risk of social engineering attacks.
Multifactor Authentication: Enforce multifactor authentication (MFA) to add an extra layer of security and make it more difficult for attackers to gain access to systems.
Social Media Awareness: Be cautious of social media platforms, as cybercriminals often collect intelligence on victims via these platforms. Limit personal and professional information shared on social media.
Phishing Detection: Teach employees to identify phishing attempts by looking for red flags such as:
Spoofed email addresses Hyperlinks that don’t match the expected URL Urgent or threatening language Requests for sensitive information
Vishing and Smishing Prevention: Be aware of vishing (voice phishing) and smishing (SMS phishing) attacks, and teach employees to verify requests and be cautious of suspicious calls and texts.
Continuous Monitoring: Continuously monitor your organization’s defenses and employee awareness to stay ahead of evolving social engineering tactics.
Remember, social engineering attacks rely on human interaction, so educating and training employees is crucial in preventing these types of attacks.
DNS over HTTPS (DoH) is a protocol that encrypts Domain Name System (DNS) queries and responses between a client (e.g., a web browser or operating system) and a DNS resolver (e.g., Quad9). This encryption protects DNS data from being intercepted, modified, or logged by third-party entities, such as Internet Service Providers (ISPs) or network administrators.
How does Quad9’s DoH service work? Quad9 offers a DoH service that uses the HTTPS protocol to encrypt DNS queries and responses. When you configure your device to use Quad9’s DoH service, your device will send DNS queries to Quad9’s servers over an encrypted HTTPS connection. Quad9’s servers will then respond with the resolved IP addresses, also encrypted.
How to configure DNS over HTTPS (DoH) using Quad9: Android (Android 9 and later): Go to Settings > Network & Internet > Advanced > Private DNS. Select “Private DNS provider hostname” and enter dns.quad9.net. Save the changes.
iOS (14 and later): Note that Apple’s Private Relay feature will override any custom DoH settings. If you want to use Quad9’s DoH, disable Private Relay. Configure your device’s DNS settings to use Quad9’s DoH by following these steps: Go to Settings > Wi-Fi > [your Wi-Fi network] > DNS. Tap “Manual” and enter dns.quad9.net as the DNS server.
Windows 11: Go to Settings > Network & Internet > Ethernet or Wi-Fi > Change adapter options. Right-click your active network connection and select “Properties”. In the “Internet Protocol Version 4 (TCP/IPv4)” or “Internet Protocol Version 6 (TCP/IPv6)” properties, click “Advanced”. In the “DNS” tab, click “Add” and enter dns.quad9.net as the DNS server.
Other devices and operating systems: Consult your device’s documentation or manufacturer’s website for specific instructions on configuring DoH with Quad9.
Important notes: Quad9’s DoH service only blocks malicious domains, not ads or tracking. You may need additional tools to block these types of content. If you’re using a VPN, it’s recommended to use the VPN’s built-in DNS service instead of configuring DoH with Quad9. Quad9’s DoH service may not work on all networks or devices due to restrictions imposed by network administrators or firewalls.
To check if VDB databases are updated in Cisco FMC and print the results to an Excel file using Python, you can use the following approach:
1.Access Cisco FMC through API: Use the Cisco FMC API to retrieve the VDB database information. You can find more details about the API in the Cisco FMC API documentation.
import requests import json
fmc_feeds_url = “https://10.10.10.10/api/fmc_feeds/access” fmc_headers = {‘content-type’: ‘application/json’} fmc_auth = (‘admin’, ‘YourPassword’) # replace ‘YourPassword’ with your actual password
Silver Peak, now part of Hewlett Packard Enterprise (HPE) Aruba, offers a software-defined wide-area networking (SD-WAN) solution, EdgeConnect. This comprehensive platform enables enterprises to transform their legacy WAN architectures into a robust, secure, and efficient SD-WAN.
Cloud-Centric Architecture: Designed for a cloud-first world, EdgeConnect simplifies branch office and WAN deployments, empowering remote workforces and enabling cloud-connected distributed enterprises.
Intelligent WAN: The platform uses artificial intelligence (AI) and machine learning (ML) to optimize WAN traffic, ensuring improved application performance, network reliability, and business efficiency.
Security: EdgeConnect integrates advanced security features, including stateful zone-based firewalls, intrusion prevention, and web security gateways, to protect users and applications from web-based threats.
Centralized Management: A single, intuitive interface allows for unified management, monitoring, and troubleshooting of WAN and security services across the entire network.
Interoperability: EdgeConnect supports a range of transport services, including MPLS, LTE, and broadband internet services, allowing enterprises to leverage their existing infrastructure and migrate to SD-WAN at their own pace.
Benefits
Improved Application Performance: EdgeConnect optimizes WAN traffic to ensure fast and reliable access to cloud-based applications and services.
Enhanced Network Reliability: The platform’s AI-driven architecture detects and mitigates network issues, reducing downtime and improving overall network availability.
Increased Business Agility: With EdgeConnect, enterprises can quickly deploy new services and applications, and respond to changing business needs with greater flexibility.
Simplified Management: Centralized management and monitoring simplify WAN and security administration, reducing operational costs and complexity.
here’s a step-by-step guide on how to set up AnyConnect VPN in Cisco Firepower Threat Defense (FTD):
Prerequisites
Ensure you have a valid AnyConnect license for your FTD device.
Familiarize yourself with the FTD device model and its maximum concurrent remote access VPN sessions (refer to the “Device Model” table in the search results).
Step 1: Configure Remote Access VPN Policy
Log in to the Firepower Management Center (FMC) web interface.
Navigate to Objects > VPN > Remote Access VPN Policy.
AnyConnect module (e.g., AMP Enabler, ISE Posture)
Profile type (e.g., XML, ASP)
File extension (refer to the “Table 8. Supported File Extensions of Profiles” in the search results)
Step 3: Upload AnyConnect Images
Navigate to Objects > VPN > AnyConnect Images.
Upload the required AnyConnect images (based on the operating system requirements).
Select the desired image for each operating system (e.g., Windows, macOS, iOS, Android).
Step 4: Configure Remote Access VPN Connection
Navigate to Devices > Remote Access.
Select the FTD device and click Edit.
Configure the remote access VPN connection settings, such as:
VPN protocol
Authentication method
Authorization and accounting settings
Split tunneling (if required)
Step 5: Save and Deploy Policy
Save the remote access VPN policy.
Deploy the policy to the FTD device.
Step 6: Verify AnyConnect Client Installation
Ensure that the AnyConnect client is installed on the remote user’s device.
Verify that the client is configured to connect to the FTD device using the correct VPN protocol and settings.
Additional Considerations
Ensure that the FTD device is configured to allow remote access VPN connections.
Verify that the FTD device has sufficient resources (e.g., CPU, memory) to handle the maximum concurrent remote access VPN sessions.
Consider configuring NAT exemption and hairpinning (if required) to allow AnyConnect clients to access internal resources.
By following these steps and considering the additional considerations, you should be able to successfully set up AnyConnect VPN in your Cisco FTD device.
A software-defined network that optimizes traffic routing over multiple connections (e.g., internet, MPLS, broadband)
Provides a centralized platform for managing and monitoring site-to-site connections
Offers advanced features like traffic shaping, quality of service (QoS), and security
Designed to improve network reliability, scalability, and agility
Can be used for site-to-cloud connections, as well as intra-site connectivity
VPN:
A point-to-point encryption solution that creates a secure connection between two endpoints (device-to-network or network-to-network)
Provides confidentiality and integrity of data transmitted over the internet
Can be used for remote access, site-to-site connectivity, and internet-to-cloud connections
Typically uses protocols like IPsec, SSL/TLS, or OpenVPN
Comparison Highlights:
Scalability: SD-WAN is designed to handle large-scale, distributed networks, while VPNs are better suited for smaller, more focused connections.
Routing: SD-WAN optimizes traffic routing across multiple connections, whereas VPNs rely on a single network link.
Management: SD-WAN provides a centralized management platform, whereas VPNs often require individual configuration and monitoring.
Security: Both SD-WAN and VPN offer encryption and security features, but SD-WAN’s advanced capabilities, such as traffic shaping and QoS, provide additional security benefits.
Use Cases: SD-WAN is ideal for large-scale, distributed networks, while VPNs are better suited for smaller, more focused connections, such as remote access or site-to-site connectivity.
In Summary:
SD-WAN and VPN are both essential technologies for securing and managing network connections. SD-WAN is designed for large-scale, distributed networks, offering advanced features like traffic optimization and centralized management. VPNs, on the other hand, provide point-to-point encryption and are well-suited for smaller, more focused connections. When choosing between SD-WAN and VPN, consider the size and complexity of your network, as well as your specific security and connectivity requirements.