Author: renjithbs

  • Ways to avoid social engineering attacks

    Assess Requests Realistically: Take the time to assess if a request is realistic and legitimate. Be cautious of requests that seem too good (or bad) to be true.

    Stay Informed: Familiarize yourself with common types of social engineering attacks and how attackers behave. This will help you identify attempts that get past your initial defenses, such as spam filters.

    Secure Devices: Ensure your Anti-Malware and Anti-Virus software is up-to-date to defend your computer against malware from phishing attacks. Patch your security regularly, including software and firmware updates.

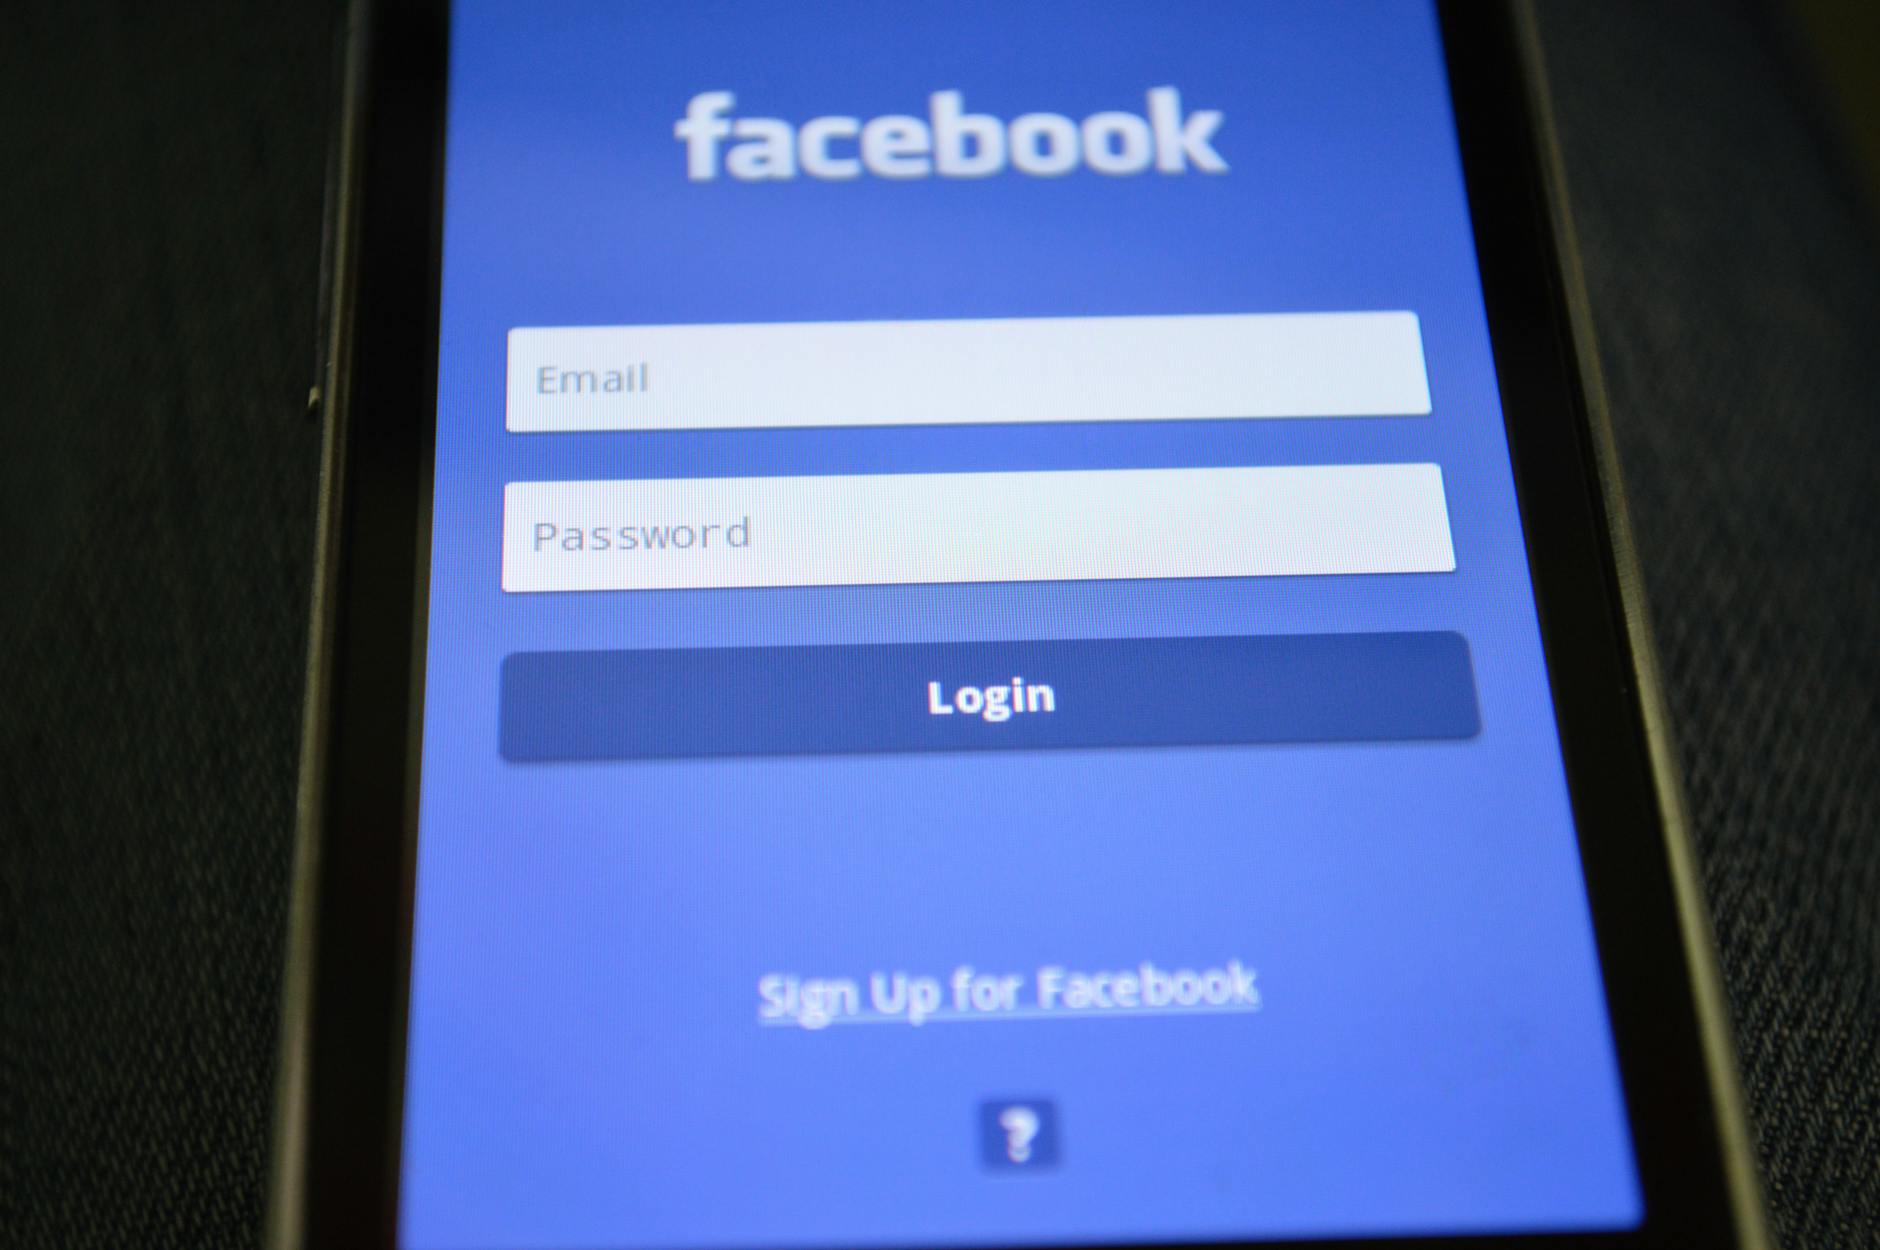
    Verify Email Requests: If an email request seems suspicious, verify it by contacting the company directly. Do not use contact information provided on a website connected to the request; instead, check previous statements for contact information.

    Use Complex Passwords: Train employees to use complex passwords and avoid logging into third-party websites with corporate email addresses to avoid malicious or fraudulent websites.

    Regular Staff Training: Provide regular staff training, including social engineering awareness training, to educate employees on social engineering attack techniques and ensure they follow security best practices.

    Simulation: Conduct simulation exercises to test employees’ ability to recognize and respond to social engineering attempts. This can help identify areas for improvement and enhance overall security.

    Email Gateways: Implement email gateways to flag socially engineered emails as spam in employees’ inboxes. This can prevent up to 99.9% of spam and reduce the risk of social engineering attacks.

    Multifactor Authentication: Enforce multifactor authentication (MFA) to add an extra layer of security and make it more difficult for attackers to gain access to systems.

    Social Media Awareness: Be cautious of social media platforms, as cybercriminals often collect intelligence on victims via these platforms. Limit personal and professional information shared on social media.

    Phishing Detection: Teach employees to identify phishing attempts by looking for red flags such as:

    Spoofed email addresses
    Hyperlinks that don’t match the expected URL
    Urgent or threatening language
    Requests for sensitive information


    Vishing and Smishing Prevention: Be aware of vishing (voice phishing) and smishing (SMS phishing) attacks, and teach employees to verify requests and be cautious of suspicious calls and texts.

    Continuous Monitoring: Continuously monitor your organization’s defenses and employee awareness to stay ahead of evolving social engineering tactics.

    Remember, social engineering attacks rely on human interaction, so educating and training employees is crucial in preventing these types of attacks.

    Photo by Pixabay on Pexels.com
  • What is Identity Theft

    Engage in online harassment or bullying.

    Steal sensitive information, such as login credentials or financial data.

    Scams:
    Fake profiles may be used to promote phishing schemes, investment scams, or other fraudulent activities.
    Common Tactics

    Profile Cloning:
    Criminals create exact replicas of a victim’s profile, often using stolen photos and biographical information.

    Social Engineering:
    Scammers use psychological manipulation to trick victims into revealing sensitive information or performing certain actions.

    Malware and Ransomware:
    Fake profiles may distribute malware or ransomware, compromising victims’ devices and data.
    Consequences

    Financial Loss:
    Identity theft on social media can result in financial losses due to fraudulent transactions, stolen identities, or compromised accounts.

    Emotional Distress: Victims may experience emotional trauma, anxiety, and stress from being impersonated or harassed online.

    Reputation Damage: Fake profiles can tarnish a person’s online reputation, causing harm to their personal and professional relationships.

    Protection Measures

    Verify Profiles: Be cautious when accepting friend requests or connections from unknown individuals.
    Use Strong Passwords: Implement robust password practices and keep them confidential.
    Limit Personal Information: Avoid sharing sensitive data, such as full names, dates of birth, and addresses.
    Monitor Accounts: Regularly check your social media profiles for suspicious activity and report any fraudulent accounts.
    Enable Two-Factor Authentication: Use 2FA to add an extra layer of security to your accounts.
    Reporting and Recovery
    Report Suspicious Activity:
    Inform the social media platform’s support team about any fraudulent profiles or suspicious behavior.
    Contact Authorities:
    Report identity theft to local law enforcement and file a complaint with the Cyber Cell.
    Seek Professional Help:
    Consider consulting with an identity theft resource center or a cybersecurity expert for guidance on recovery and prevention.

    Photo by Pixabay on Pexels.com
  • Introduction to Useful Wireshark Filters

    Photo by Valdemaras D. on Pexels.com

    Wireshark is a powerful network protocol analyzer that helps users capture and analyze network traffic. To make the most out of Wireshark, using the right filters is essential. Filters help narrow down the traffic to specific protocols, IP addresses, or ports, making it easier to analyze and troubleshoot network issues.

    Filter by IP Address: ip.src == x.x.x.x or ip.dst == x.x.x.x to filter by source or destination IP address.

    Filter by Port: tcp.port == 80 or udp.port == 53 to filter by specific TCP or UDP ports.

    Filter by Protocol: http or dns to filter by specific protocols like HTTP or DNS.

    Filter by TCP Flags: tcp.flags == 0x02 to filter by specific TCP flags, such as SYN or ACK.

    Filter by Packet Length: frame.len > 100 or frame.len < 100 to filter by packet length.

    Filter by Conversation: ip.src == x.x.x.x and ip.dst == y.y.y.y to filter by conversations between two specific IP addresses.

    Filter by HTTP Requests: http.request.method == GET or http.request.method == POST to filter by specific HTTP request methods.

    Filter by DNS Requests: dns.qry.type == A or dns.qry.type == AAAA to filter by specific DNS query types.

    Filter by TCP Resets: tcp.flags.reset == 1 to filter by TCP reset packets.

    Filter by Sequence Number: tcp.seq == 12345 to filter by specific TCP sequence numbers.

  • How to check network latency using Wireshark

    To test network latency using Wireshark, follow these steps to effectively capture and analyze packet data:Setting Up Wireshark

    Install Wireshark: Download and install the latest version of Wireshark from the official website.
    Select the Network Interface: Open Wireshark and choose the appropriate network interface to capture packets. This is typically your Ethernet or Wi-Fi connection.

    Capturing Packets
    Start Packet Capture:Click on the “Capture” menu and select “Start” or simply click the shark fin icon.
    Allow Wireshark to run for a sufficient duration to capture relevant traffic.
    Stop Packet Capture:Click on the red square button to stop capturing once you have enough data.

    Analyzing Latency
    Use TCP Stream Graphs:Go to “Statistics” in the menu.
    Select “TCP Stream Graph” and then choose “Round Trip Time” (RTT) graph.
    This graph will display the round-trip time for packets, allowing you to visualize latency over time1.

    Inspect Individual Packets: Click on a specific packet in the capture window.
    In the packet details pane, look for timestamps which indicate when packets were sent and received. You can calculate latency by subtracting these timestamps4.

    Filter for Specific Protocols: Use display filters (e.g., tcp, icmp) to isolate specific types of traffic that may be contributing to latency issues.


    Calculate Latency Using Timestamps: If you have access to both client and server captures, you can compare timestamps from both ends to measure latency more accurately by subtracting the client’s send time from the server’s receive time4.

    Additional Analysis
    Identify Potential Issues: Look for signs of congestion, such as packet loss or retransmissions, which can contribute to increased latency.
    Use other statistics tools within Wireshark, such as “IO Graphs,” to visualize overall network performance.
    By following these steps, you can effectively use Wireshark to measure and analyze network latency, helping you identify bottlenecks and optimize your network performance

  • What is DNS over HTTPS (DoH)

    DNS over HTTPS (DoH) is a protocol that encrypts Domain Name System (DNS) queries and responses between a client (e.g., a web browser or operating system) and a DNS resolver (e.g., Quad9). This encryption protects DNS data from being intercepted, modified, or logged by third-party entities, such as Internet Service Providers (ISPs) or network administrators.

    How does Quad9’s DoH service work?
    Quad9 offers a DoH service that uses the HTTPS protocol to encrypt DNS queries and responses. When you configure your device to use Quad9’s DoH service, your device will send DNS queries to Quad9’s servers over an encrypted HTTPS connection. Quad9’s servers will then respond with the resolved IP addresses, also encrypted.

    How to configure DNS over HTTPS (DoH) using Quad9:
    Android (Android 9 and later):
    Go to Settings > Network & Internet > Advanced > Private DNS.
    Select “Private DNS provider hostname” and enter dns.quad9.net.
    Save the changes.

    iOS (14 and later):
    Note that Apple’s Private Relay feature will override any custom DoH settings. If you want to use Quad9’s DoH, disable Private Relay.
    Configure your device’s DNS settings to use Quad9’s DoH by following these steps:
    Go to Settings > Wi-Fi > [your Wi-Fi network] > DNS.
    Tap “Manual” and enter dns.quad9.net as the DNS server.

    Windows 11:
    Go to Settings > Network & Internet > Ethernet or Wi-Fi > Change adapter options.
    Right-click your active network connection and select “Properties”.
    In the “Internet Protocol Version 4 (TCP/IPv4)” or “Internet Protocol Version 6 (TCP/IPv6)” properties, click “Advanced”.
    In the “DNS” tab, click “Add” and enter dns.quad9.net as the DNS server.

    Other devices and operating systems:
    Consult your device’s documentation or manufacturer’s website for specific instructions on configuring DoH with Quad9.

    Important notes:
    Quad9’s DoH service only blocks malicious domains, not ads or tracking. You may need additional tools to block these types of content.
    If you’re using a VPN, it’s recommended to use the VPN’s built-in DNS service instead of configuring DoH with Quad9.
    Quad9’s DoH service may not work on all networks or devices due to restrictions imposed by network administrators or firewalls.

    Photo by Field Engineer on Pexels.com
  • Connecting OSPF Areas without Virtual Links

    To connect two OSPF regular areas without a virtual link, you can use a GRE (Generic Routing Encapsulation) tunnel. Here’s a step-by-step guide:

    Why GRE Tunnel?

    A GRE tunnel allows you to encapsulate OSPF packets within a GRE header, which can be routed through a non-OSPF area. This approach eliminates the need for a virtual link.

    Configuration Steps:

    1. Create a GRE Tunnel:
      • Configure a GRE tunnel between the two routers that connect the two OSPF regular areas.
      • Use the tunnel mode gre ip command to create a GRE tunnel interface.
    2. Configure OSPF on the GRE Tunnel:
      • Configure OSPF on the GRE tunnel interface, specifying the area ID and network type.
      • Use the router ospf command to enable OSPF on the GRE tunnel interface.
    3. Configure OSPF on the Physical Interfaces:
      • Configure OSPF on the physical interfaces that connect to the GRE tunnel, specifying the area ID and network type.
      • Use the router ospf command to enable OSPF on the physical interfaces.

    Example Configuration:

    Suppose we have two routers, R1 and R2, that connect two OSPF regular areas, Area 1 and Area 2.

    R1 Configuration:

    interface Tunnel0 

    tunnel mode gre 

    ip tunnel source FastEthernet0/0 tunnel destination 192.168.2.2 

    ip address 10.1.1.1 255.255.255.0 

    router ospf 1 

    network 10.1.1.0 0.0.0.255 area 1 interface FastEthernet0/0 

    ip address 192.168.1.1 255.255.255.0 router ospf 1 

    network 192.168.1.0 0.0.0.255 area 1

    R2 Configuration:

    interface Tunnel0
    tunnel mode gre ip
    tunnel source FastEthernet0/0
    tunnel destination 192.168.1.1
    ip address 10.2.2.1 255.255.255.0
    router ospf 1
    network 10.2.2.0 0.0.0.255 area 2

    interface FastEthernet0/0
    ip address 192.168.2.2 255.255.255.0
    router ospf 1
    network 192.168.2.0 0.0.0.255 area 2

    By using a GRE tunnel, you can connect two OSPF regular areas without a virtual link. This approach provides a flexible and scalable solution for connecting multiple OSPF areas.

  • Python script to check if VDB databases are updated in Cisco FMC

    To check if VDB databases are updated in Cisco FMC and print the results to an Excel file using Python, you can use the following approach:

    1.Access Cisco FMC through API: Use the Cisco FMC API to retrieve the VDB database information. You can find more details about the API in the Cisco FMC API documentation.

    import requests
    import json

    fmc_feeds_url = “https://10.10.10.10/api/fmc_feeds/access&#8221;
    fmc_headers = {‘content-type’: ‘application/json’}
    fmc_auth = (‘admin’, ‘YourPassword’) # replace ‘YourPassword’ with your actual password

    response = requests.get(fmc_feeds_url, headers=fmc_headers, auth=fmc_auth, verify=False)
    feeds = json.loads(response.text)

    2.Parse the API response: Extract the VDB database information from the API response.

    vdb_databases = [feed for feed in feeds[‘items’] if feed[‘name’].startswith(‘VDB’)]

    3.Create an Excel file and print the results: Use a library like pandas to create an Excel file and print the results.

    import pandas as pd

    df = pd.DataFrame(vdb_databases)
    df.to_excel(‘VDB_databases.xlsx’, index=False)

  • Key Features of Sliver Peak SD-WAN

    Silver Peak, now part of Hewlett Packard Enterprise (HPE) Aruba, offers a software-defined wide-area networking (SD-WAN) solution, EdgeConnect. This comprehensive platform enables enterprises to transform their legacy WAN architectures into a robust, secure, and efficient SD-WAN.

    1. Cloud-Centric Architecture: Designed for a cloud-first world, EdgeConnect simplifies branch office and WAN deployments, empowering remote workforces and enabling cloud-connected distributed enterprises.
    2. Intelligent WAN: The platform uses artificial intelligence (AI) and machine learning (ML) to optimize WAN traffic, ensuring improved application performance, network reliability, and business efficiency.
    3. Security: EdgeConnect integrates advanced security features, including stateful zone-based firewalls, intrusion prevention, and web security gateways, to protect users and applications from web-based threats.
    4. Centralized Management: A single, intuitive interface allows for unified management, monitoring, and troubleshooting of WAN and security services across the entire network.
    5. Interoperability: EdgeConnect supports a range of transport services, including MPLS, LTE, and broadband internet services, allowing enterprises to leverage their existing infrastructure and migrate to SD-WAN at their own pace.

    Benefits

    1. Improved Application Performance: EdgeConnect optimizes WAN traffic to ensure fast and reliable access to cloud-based applications and services.
    2. Enhanced Network Reliability: The platform’s AI-driven architecture detects and mitigates network issues, reducing downtime and improving overall network availability.
    3. Increased Business Agility: With EdgeConnect, enterprises can quickly deploy new services and applications, and respond to changing business needs with greater flexibility.
    4. Simplified Management: Centralized management and monitoring simplify WAN and security administration, reducing operational costs and complexity.
  • Migrate APs from Old WLC to 9800

    Migrate APs from Old WLC to 9800

    Python script to move access points from an old WLC (Wireless LAN Controller) to a new Cisco Catalyst 9800 WLC:

    Example Code Snippets

    1. Collecting configuration data from the old WLC (AireOS):

    import netmiko

    old_wlc_ip = ‘192.168.1.100’
    old_wlc_username = ‘admin’
    old_wlc_password = ‘password’

    ssh_conn = netmiko.Netmiko(
    hostname=old_wlc_ip,
    username=old_wlc_username,
    password=old_wlc_password
    )

    config_data = ssh_conn.send_command(‘show running-config’)

    2.Processing data to extract AP information:

    import csv

    ap_info = []
    for line in config_data.splitlines():
    if ‘ap-name’ in line:
    ap_name = line.split()[1]
    ap_info.append({‘ap_name’: ap_name, ‘wlc_ip’: old_wlc_ip})

    with open(‘ap_config.csv’, ‘w’, newline=”) as csvfile:
    writer = csv.DictWriter(csvfile, fieldnames=[‘ap_name’, ‘wlc_ip’])
    writer.writeheader()
    writer.writerows(ap_info)

    1. Sending configuration commands to the new 9800 WLC:
    new_wlc_ip = '192.168.1.200'
    new_wlc_username = 'admin'
    new_wlc_password = 'password'

    ssh_conn = netmiko.Netmiko(
    hostname=new_wlc_ip,
    username=new_wlc_username,
    password=new_wlc_password
    )

    with open('ap_config.csv', 'r') as csvfile:
    reader = csv.DictReader(csvfile)
    for row in reader:
    ap_name = row['ap_name']
    wlc_ip = row['wlc_ip']
    config_cmd = f'config ap primary-base {wlc_ip} {ap_name}'
    ssh_conn.send_command(config_cmd)
  • How to set up AnyConnect VPN in Cisco Firepower Threat Defense (FTD)

    How to set up AnyConnect VPN in Cisco Firepower Threat Defense (FTD)

    here’s a step-by-step guide on how to set up AnyConnect VPN in Cisco Firepower Threat Defense (FTD):

    Prerequisites

    1. Ensure you have a valid AnyConnect license for your FTD device.
    2. Familiarize yourself with the FTD device model and its maximum concurrent remote access VPN sessions (refer to the “Device Model” table in the search results).

    Step 1: Configure Remote Access VPN Policy

    1. Log in to the Firepower Management Center (FMC) web interface.
    2. Navigate to Objects > VPN > Remote Access VPN Policy.
    3. Create a new policy or edit an existing one.
    4. Configure the policy settings, such as:
      • VPN protocol (SSL or IPsec-IKEv2)
      • Authentication method (e.g., client certificate, username/password)
      • Authorization and accounting settings
      • URL Aliases (if required)

    Step 2: Configure Client Profiles

    1. Navigate to Objects > VPN > Client Profiles.
    2. Create a new profile or edit an existing one.
    3. Configure the profile settings, such as:
      • AnyConnect module (e.g., AMP Enabler, ISE Posture)
      • Profile type (e.g., XML, ASP)
      • File extension (refer to the “Table 8. Supported File Extensions of Profiles” in the search results)

    Step 3: Upload AnyConnect Images

    1. Navigate to Objects > VPN > AnyConnect Images.
    2. Upload the required AnyConnect images (based on the operating system requirements).
    3. Select the desired image for each operating system (e.g., Windows, macOS, iOS, Android).

    Step 4: Configure Remote Access VPN Connection

    1. Navigate to Devices > Remote Access.
    2. Select the FTD device and click Edit.
    3. Configure the remote access VPN connection settings, such as:
      • VPN protocol
      • Authentication method
      • Authorization and accounting settings
      • Split tunneling (if required)

    Step 5: Save and Deploy Policy

    1. Save the remote access VPN policy.
    2. Deploy the policy to the FTD device.

    Step 6: Verify AnyConnect Client Installation

    1. Ensure that the AnyConnect client is installed on the remote user’s device.
    2. Verify that the client is configured to connect to the FTD device using the correct VPN protocol and settings.

    Additional Considerations

    • Ensure that the FTD device is configured to allow remote access VPN connections.
    • Verify that the FTD device has sufficient resources (e.g., CPU, memory) to handle the maximum concurrent remote access VPN sessions.
    • Consider configuring NAT exemption and hairpinning (if required) to allow AnyConnect clients to access internal resources.

    By following these steps and considering the additional considerations, you should be able to successfully set up AnyConnect VPN in your Cisco FTD device.